
Before you start
A wallet that can make Lightning payments and enough balance for the amount and any fee charged by your wallet.
The project page you want to support. The minimum plain donation is currently 1,000 sats.
An email address you control if you want a receipt or need to arrange a reward.

Follow along with Mila & SatsGarden, our fictional example account and project. Screens show example data.
Read the project before choosing support
Review the story, funding plan, development stage and recent updates. If you are selecting a reward, read what is included, its availability, delivery estimate and any shipping conditions. A target is a project goal; it is not an automatic all-or-nothing promise.
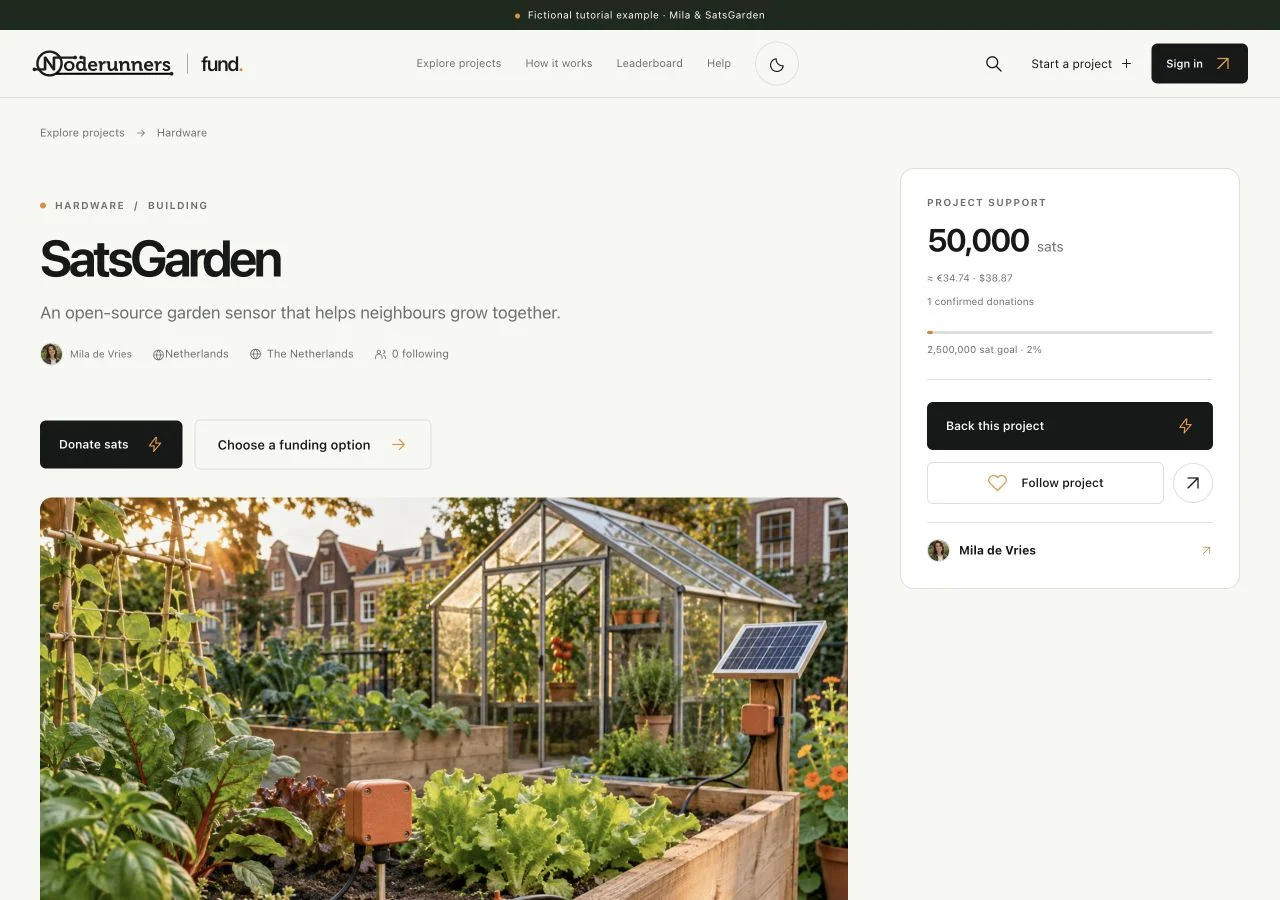
Choose a plain donation or a funding option
Use the project support action for a plain donation, or choose a specific reward from Support & products. If donation goals are available, you can select one in the plain-donation form. Reward orders and separate donation goals are not combined in the same payment.
Check the amount, quantity and allocation
Choose a preset or enter the sats amount. For a reward, respect its minimum amount and use the quantity control when the maker offers more than one unit. The checkout shows the platform fee of 5% and the maker allocation of 95%. Read the total in your wallet as well: the wallet may display its own payment fee.
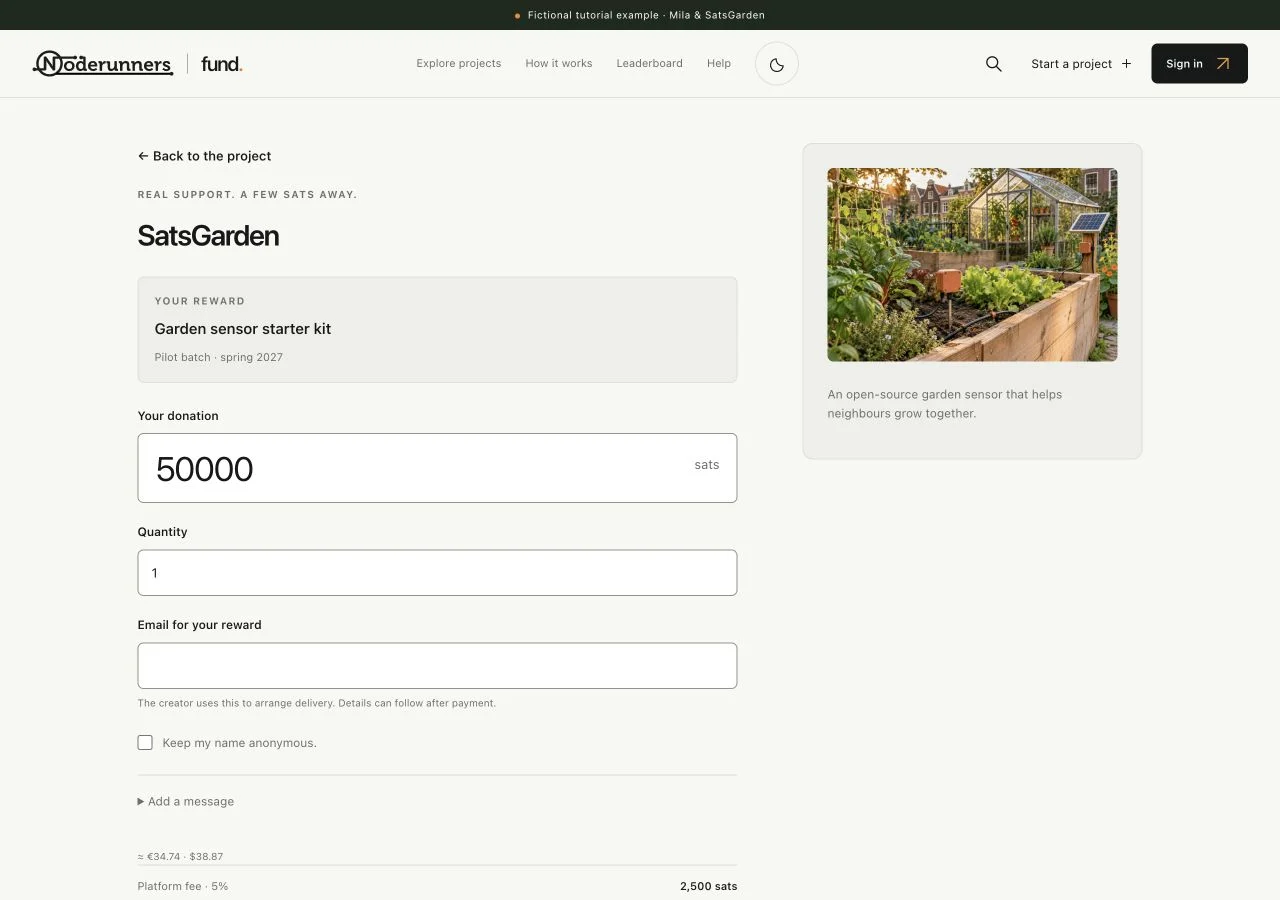
Choose your name, anonymity and contact details
If you are signed in, the account identity is used for the donation. As a guest, you can add a public name, a message or a receipt email. Use Keep my name anonymous when you do not want the name displayed publicly. A product reward may require an email so delivery can be arranged. Private delivery details belong in the private conversation after payment, not in a public donation message.
Choose Continue with Lightning
Check the details and terms, then choose Continue with Lightning. Wait for the payment panel to appear. Preparing an invoice is not the same as paying it. If the service cannot prepare a request, your choice is kept and you can use the retry action; see Payment and email help for the safe next step.
Open or scan the Lightning invoice
On the same device, choose Open Lightning wallet if your wallet supports that link. With a second device, scan the QR from inside your wallet. You can also use Copy invoice and paste it into the wallet's Lightning send screen. The QR in this guide is a non-payable example; use the invoice on your own live donation page.
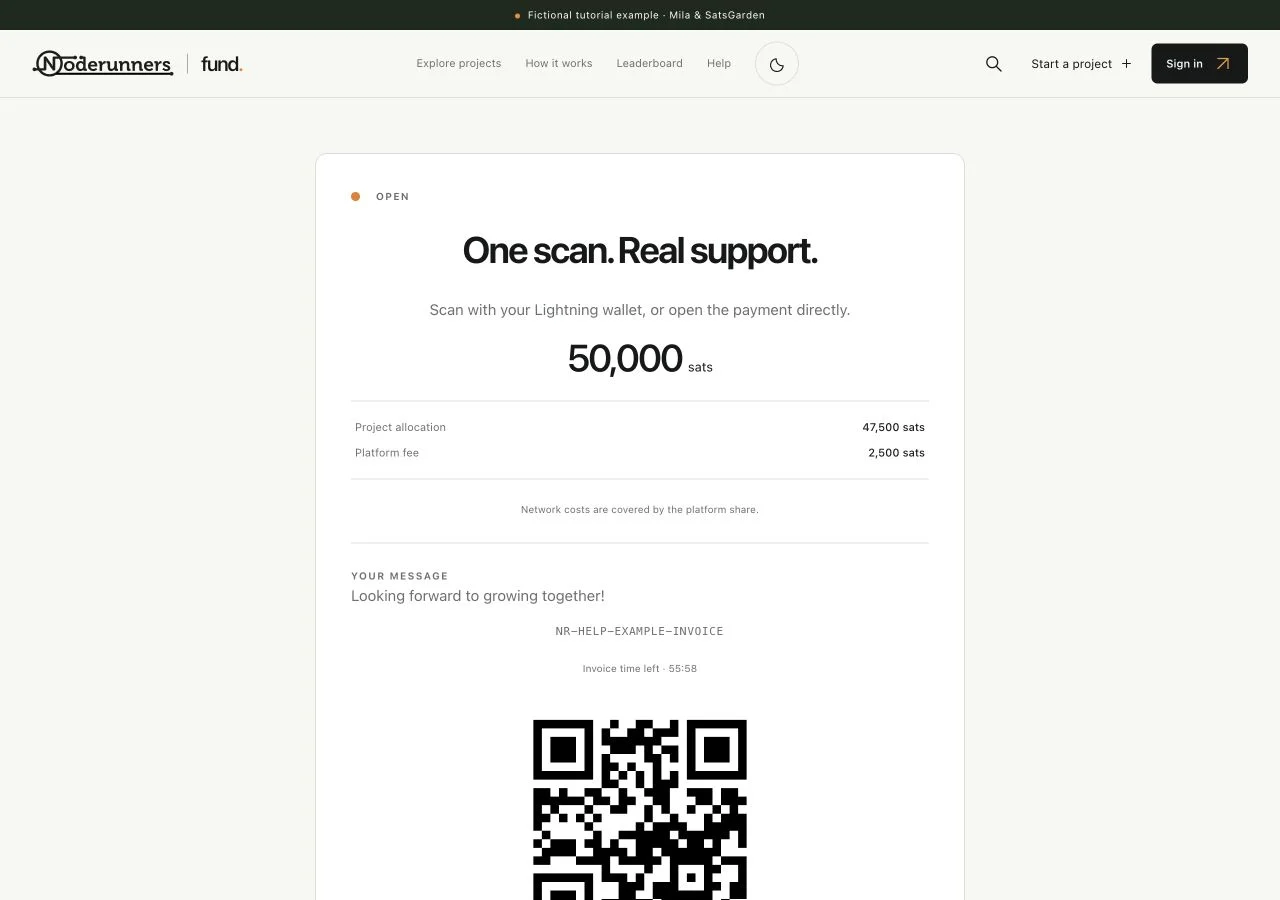
Check the wallet and approve the payment
Confirm that the wallet recognises a Lightning invoice and that the sats amount is what you intended. Review any wallet fee before you approve. Use your wallet's normal confirmation controls. Do not enter a seed phrase, recovery words or account password into a project page to pay.
Return to the private page and wait for confirmation
Keep the donation page open while the platform checks the payment. A wallet showing success and a website showing confirmation are separate observations; the website confirms after the payment backend verifies it. If the wallet says paid but the page has not updated, do not pay again just to refresh it. Keep the reference and follow the troubleshooting guide.
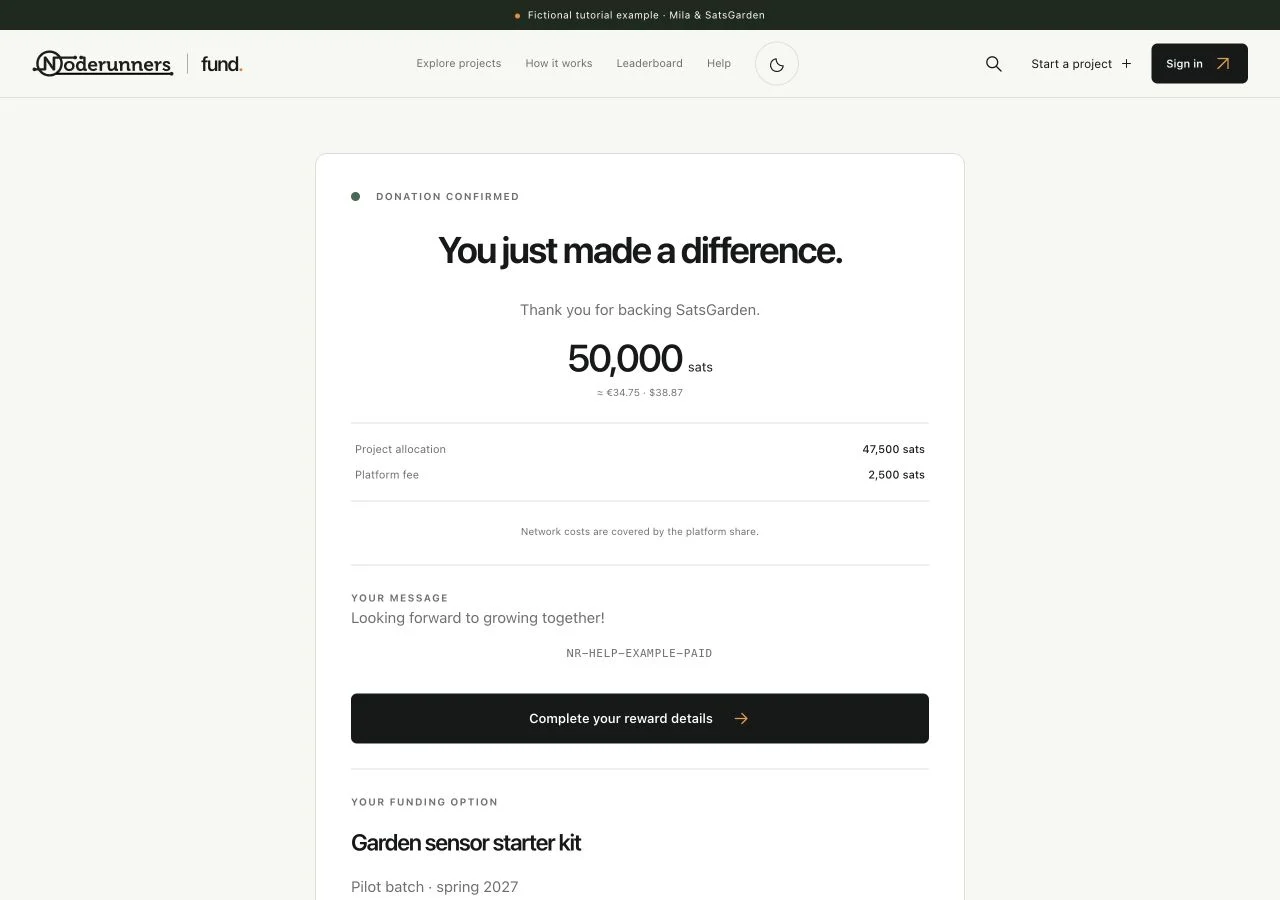
Keep your donation reference and private access
Save the donation reference and the private page or backup-access link offered there. Guest access depends on that private link; a public project URL or reference alone is not the same thing. Treat a private donation link like access to your receipt and conversation, and do not post it publicly.
Confirm a guest email when requested
If you donated as a guest and added an email address, follow the email confirmation section on the private donation page. Request or use the verification code sent to that inbox and enter it on the page. Confirming the address enables the private email notifications that are available for the donation. It does not make the donation public.
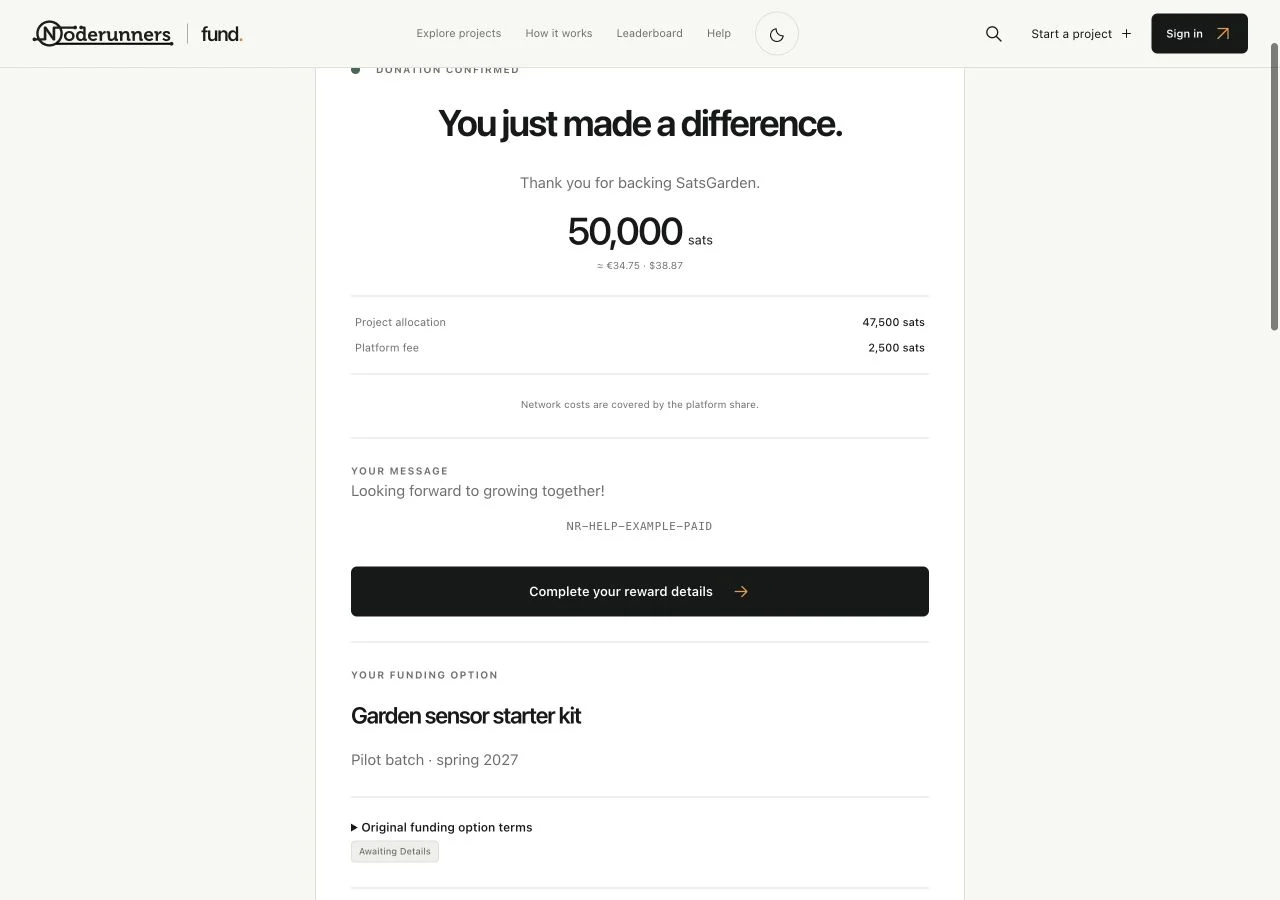
Complete any reward details after payment
For a reward, open the private conversation or the requested details form. Tell the maker the information needed for the saved commitment, such as a custom name or shipping arrangement. Follow delivery progress on the private page and use the conversation for later questions.
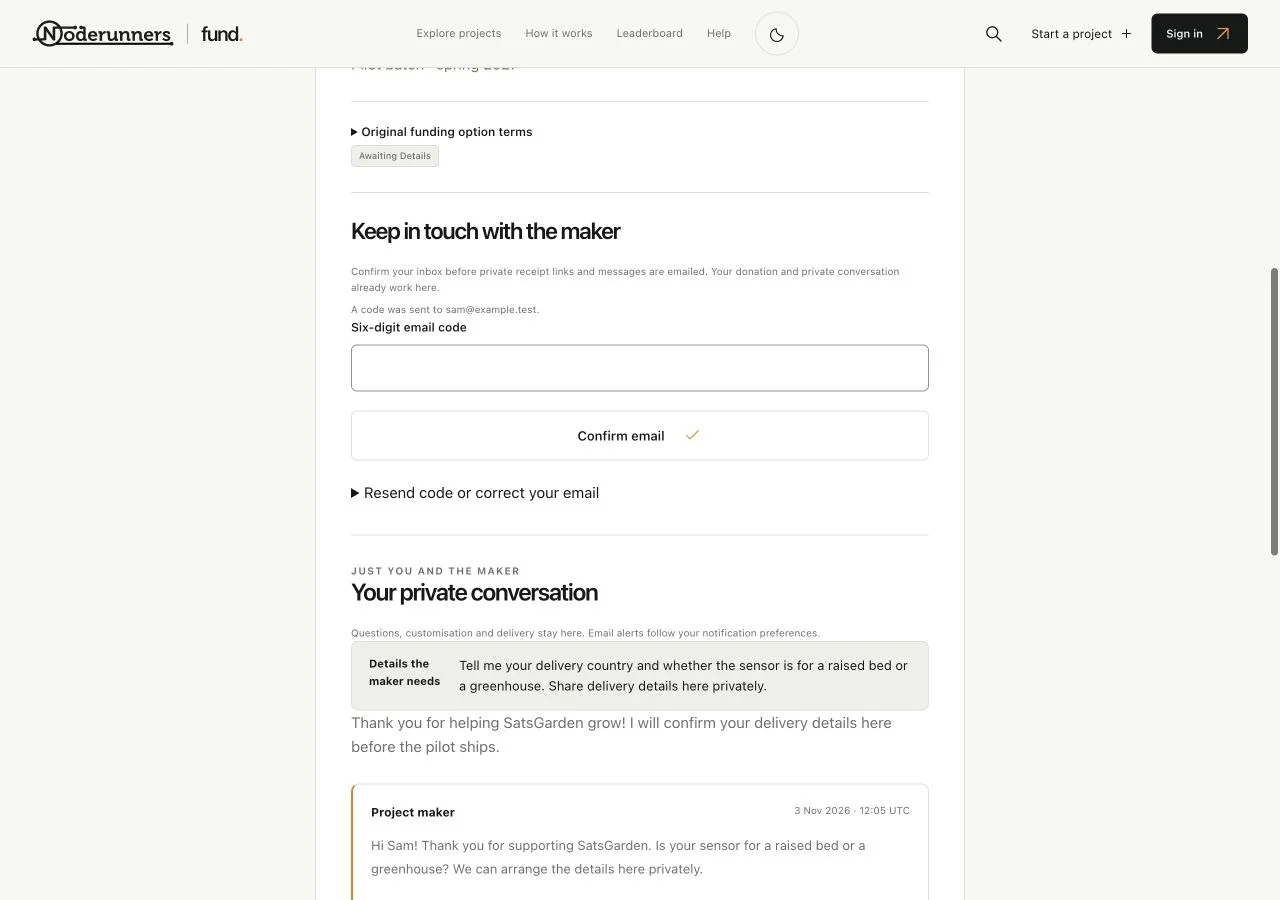
You’re all set when…
The donation page shows a confirmed payment.
You have saved private access and supplied any reward details that are needed.