
Before you start
A verified account and a clear idea of what you are making.
A cover image, a short pitch and a useful project story. Prepare the images and text before starting if that helps.
A validated payout wallet in your account before submitting for review. See Connect your payout wallet.
A funding plan explaining what support will make possible. Rewards, extra videos and a target are optional.

Follow along with Mila & SatsGarden, our fictional example account and project. Screens show example data.
Choose New project
From your workspace choose New project, or use Start a project in the site header. The editor opens with a private draft. Start in the Project tab. You can move between tabs without publishing anything.
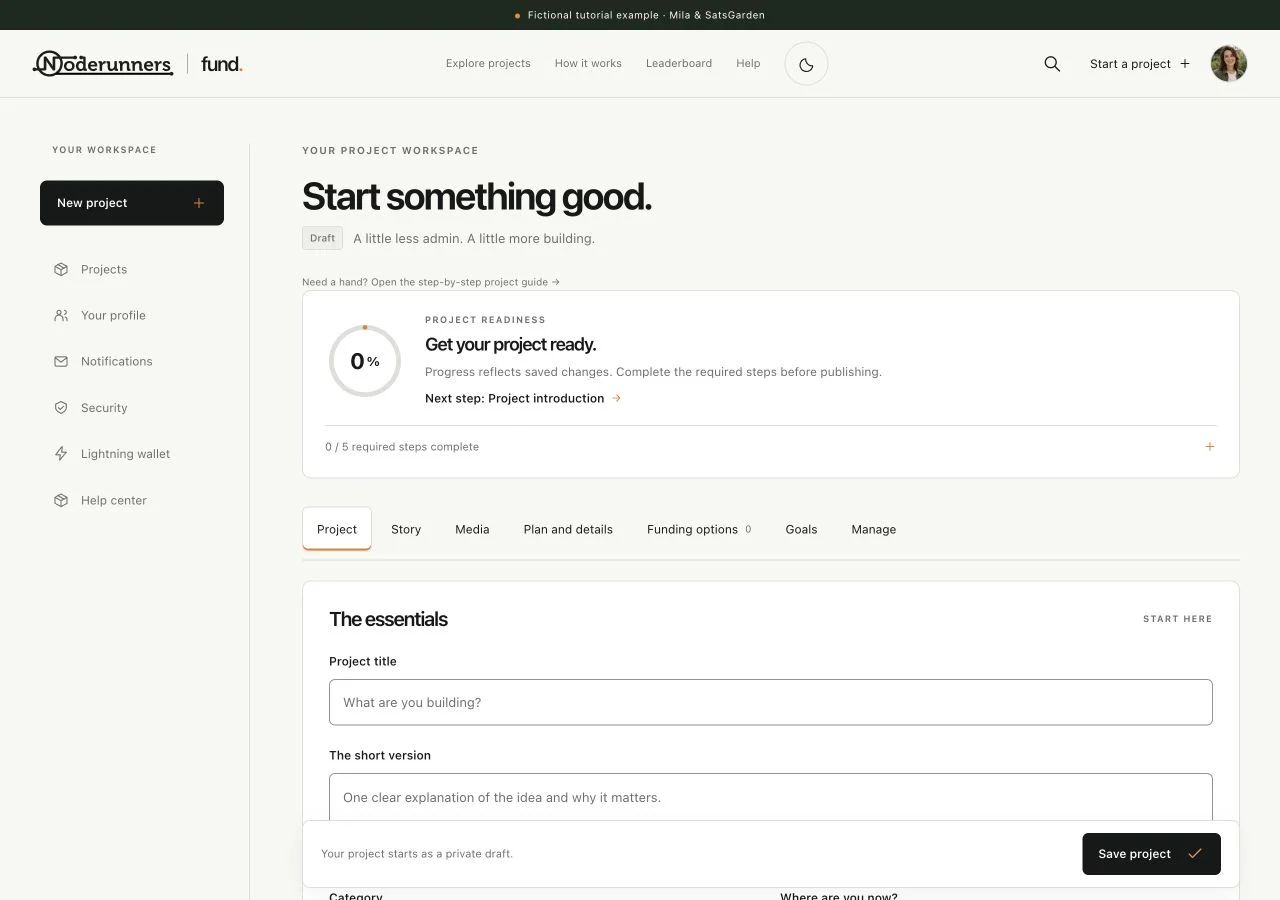
Write a clear title and short pitch
Give the project a recognisable title. In the short pitch explain what it is, who it is for and what the next contribution will help achieve. Choose a suitable category and development stage. For example, Mila describes a working garden sensor prototype instead of promising a finished commercial product. Add location, website or repository details when they help people assess the work.
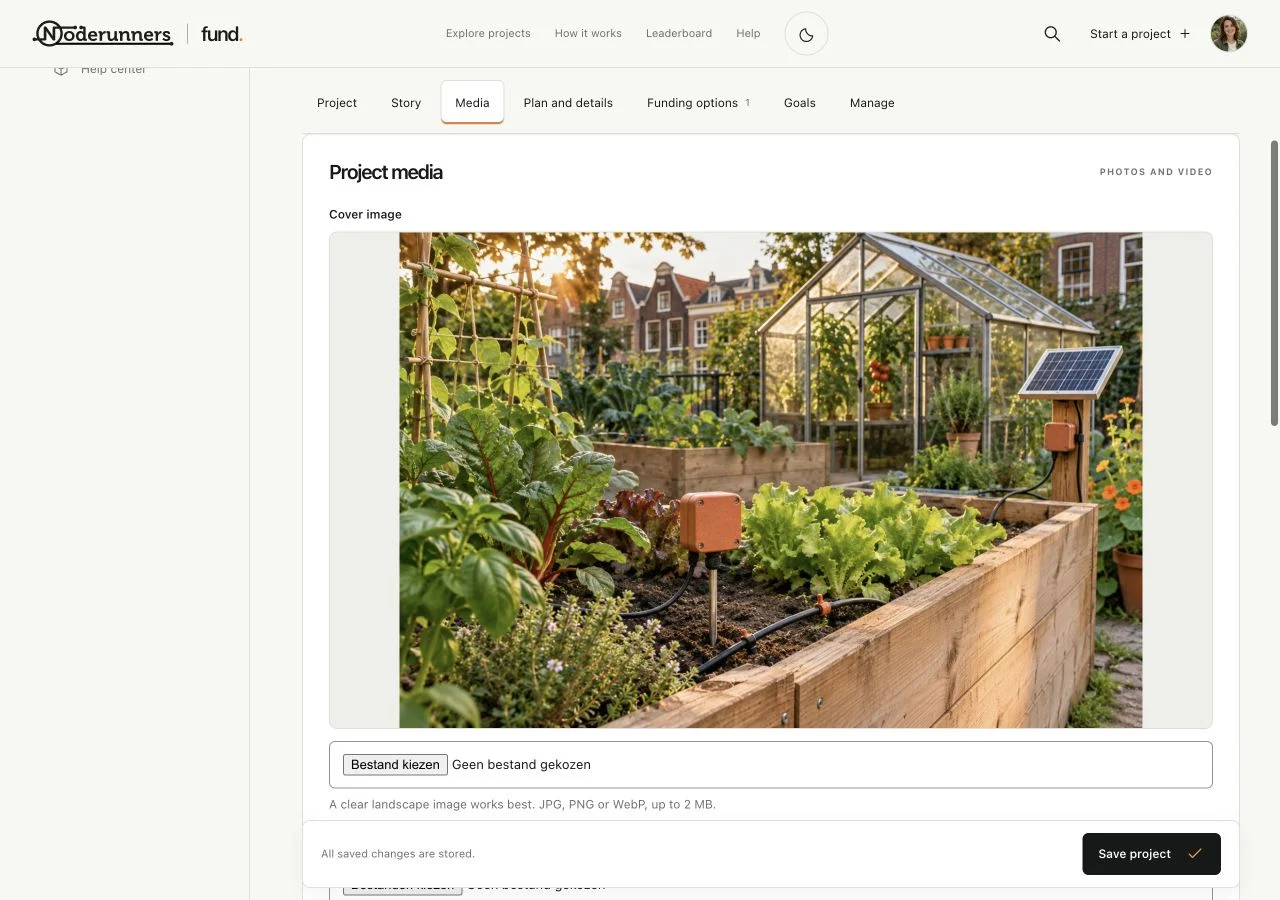
Upload a cover image
Choose an image that represents the project itself: a prototype, a real build, game art or another relevant visual. The cover appears on project cards and the project page, so check that the main subject still works when cropped. Use the file types and limit shown next to the upload field. The example artwork is fictitious; use images you have the right to publish.
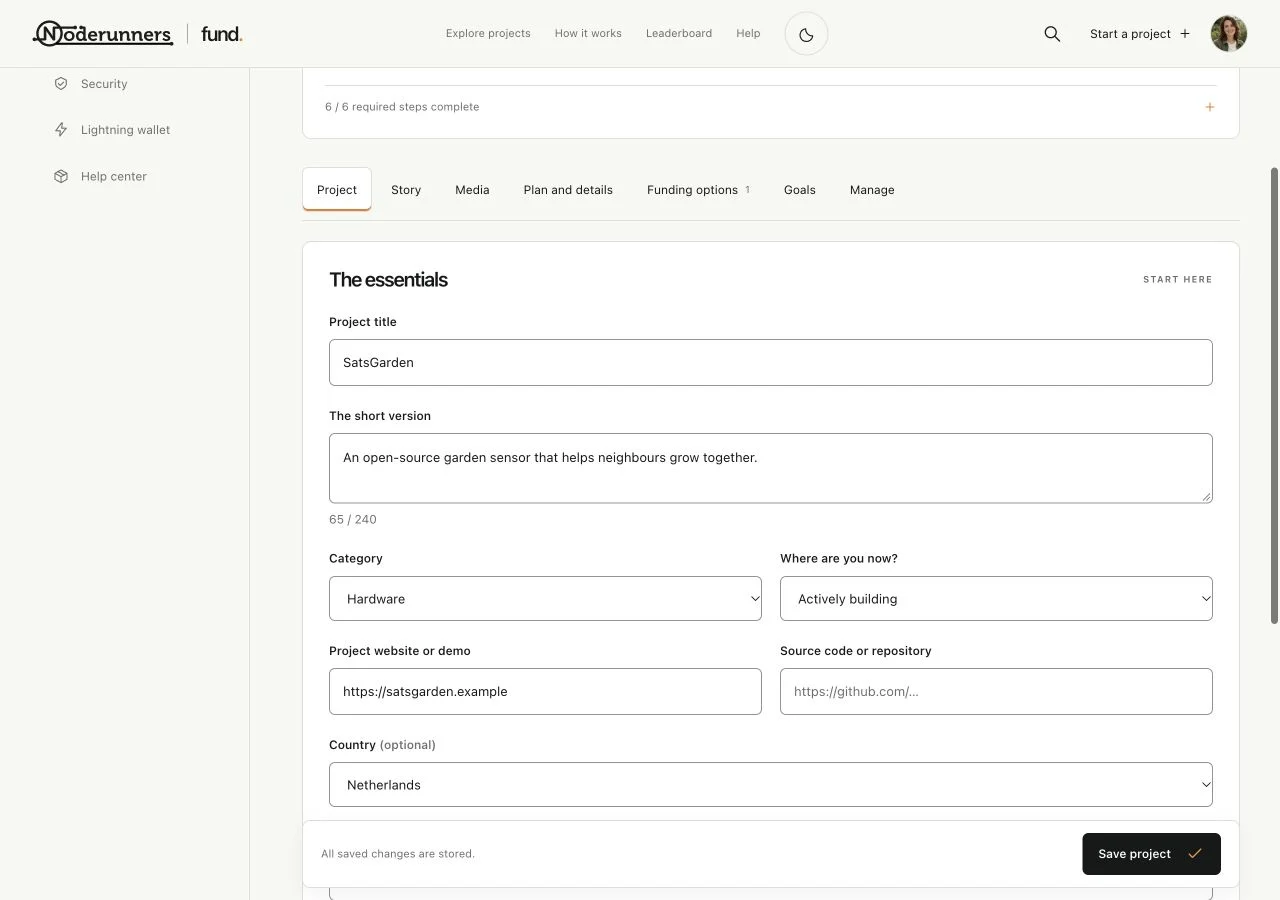
Save the draft before adding the extras
Choose Save project. After the first save, the project has its own workspace URL and you can add funding options, goals and updates. Watch for the saved confirmation. A preview shows saved content, so save again after each group of changes you want to review.
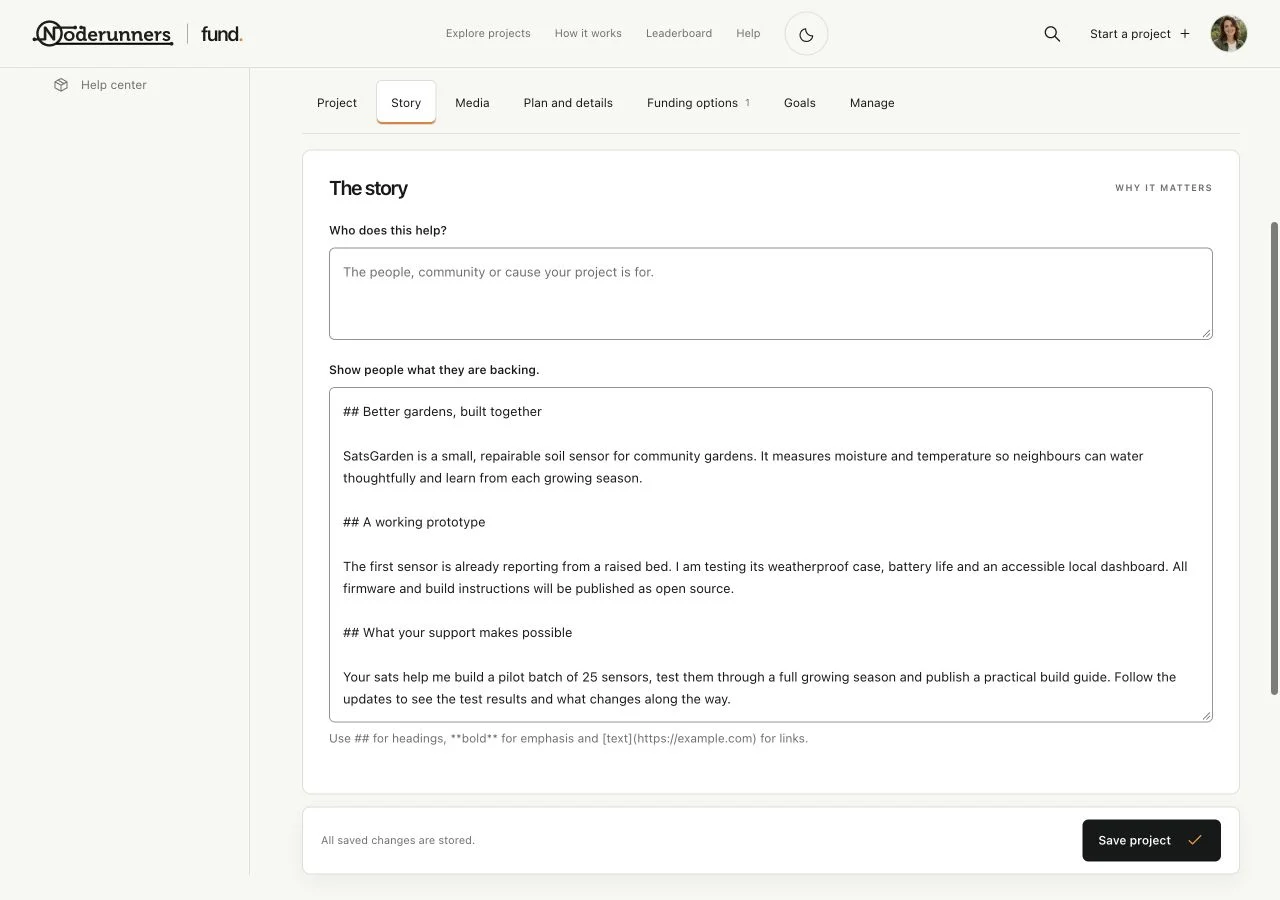
Explain the work in the Story tab
Open Story and write more than a short placeholder. Explain the problem, the people behind it, what already exists and the next concrete milestone. Be clear about uncertainty and the current state of the work. Use headings and short paragraphs to make a longer story readable, then save.
Add useful gallery images or a video
Open Media. Add up to 9 gallery images showing different aspects of the work. Drag the images into your preferred order and save. A main video and extra video slots let you show a walkthrough, demonstration or progress clip. Use the supported link or upload options shown in the editor; a title and short description help people decide what to watch.
Complete Plan and details
Open Plan and details. Under What will donations make possible?, explain the next use of funds in concrete terms. You can add an overall sats target, or leave it at 0 for open funding. Add budget lines, common project questions and relevant details when available. The overall target is separate from individual donation goals.
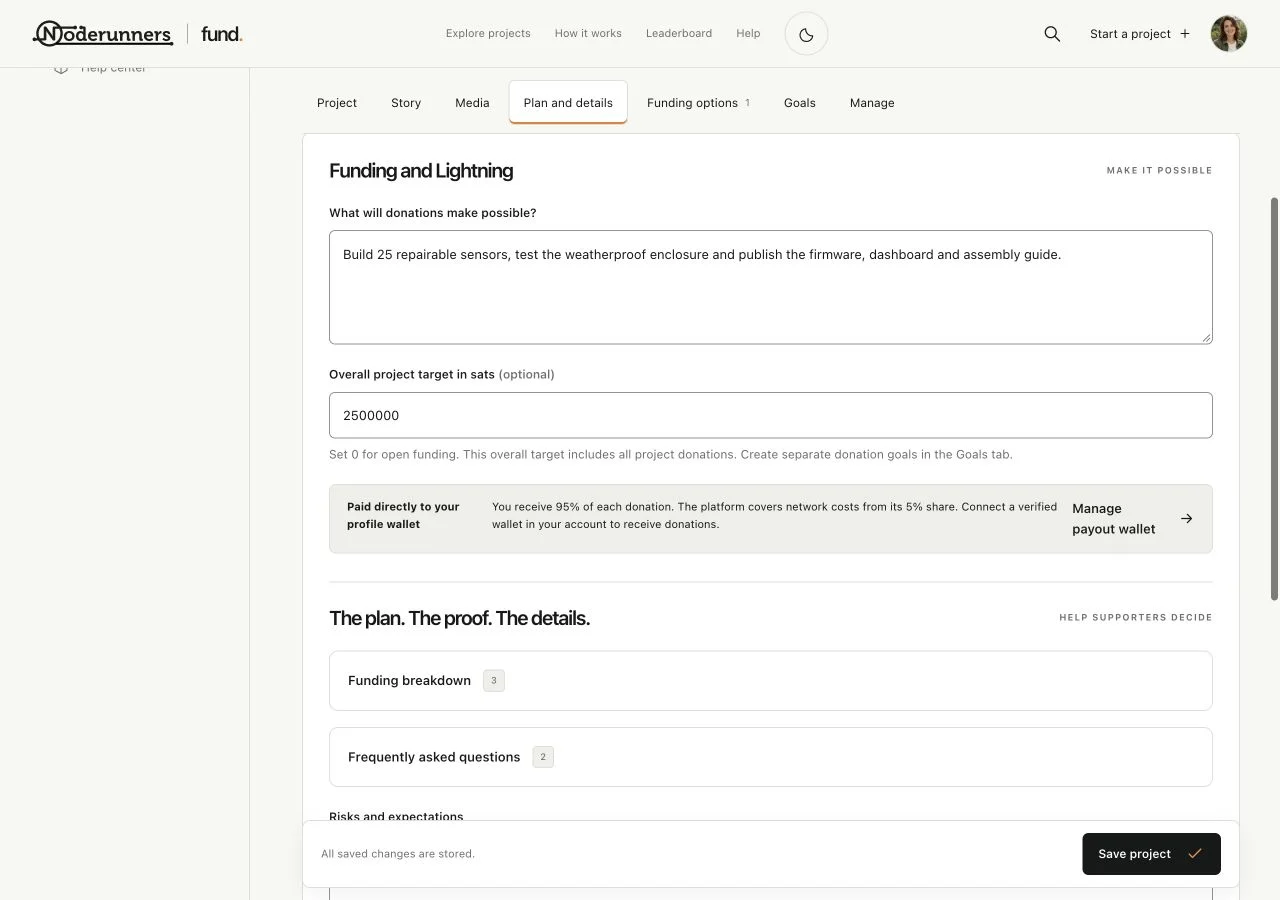
Add rewards only when you can describe the commitment
Open Funding options if you want to offer recognition, custom work, digital or physical items, or a package. Define what is included, the amount, availability and delivery expectations. A plain donation needs no reward. For shipping or personalisation, explain the practical details before you make an option available. Follow the separate rewards guide for the complete setup.
Preview the page as a supporter would
Choose Preview and review the saved project. Check the first impression, story, images, targets and reward descriptions. Follow the page sections rather than checking only the top. If something is unclear or an image is poorly cropped, return to the editor, make the change and save again.
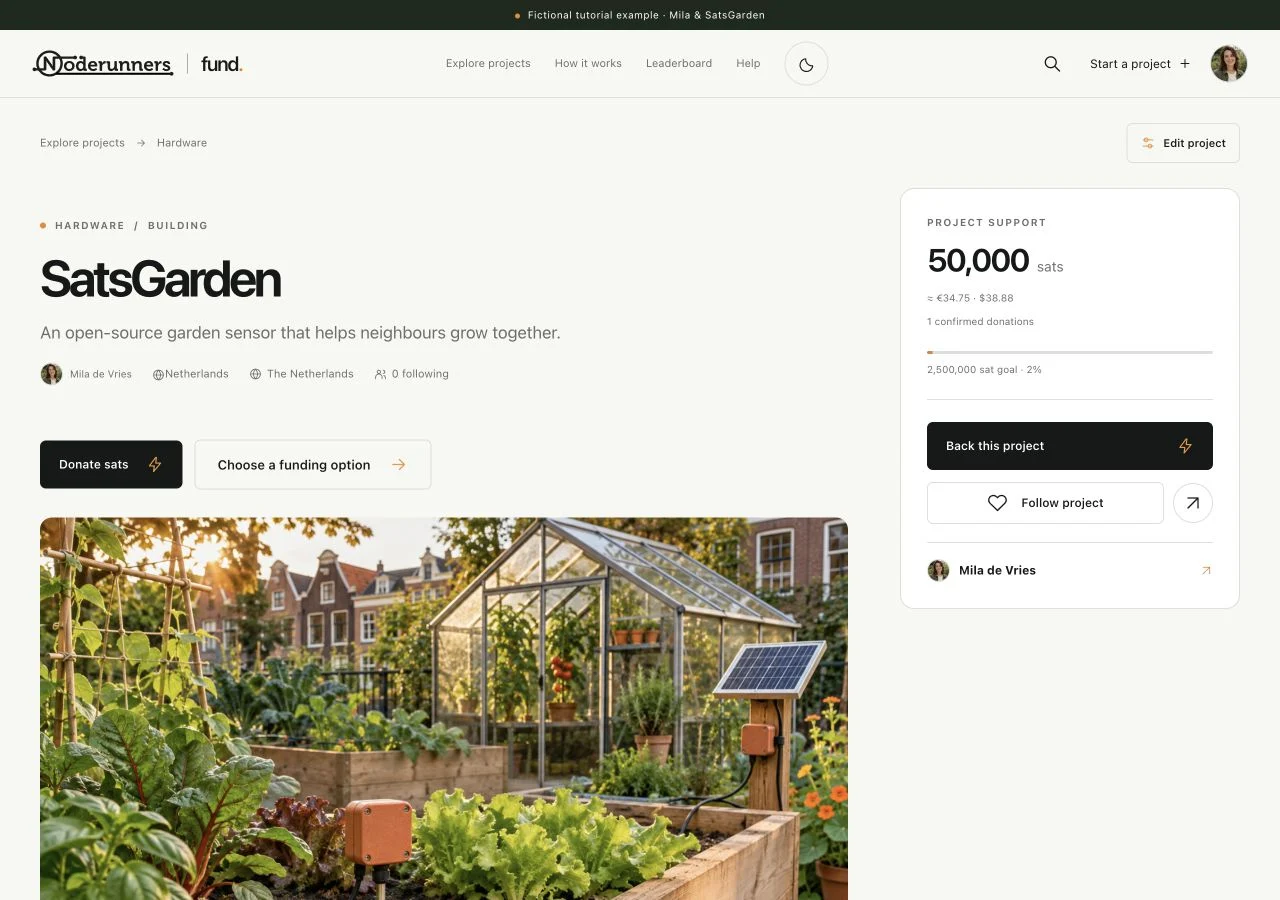
Complete the required checklist
The editor checklist shows the required introduction, story, cover, funding plan and verified maker wallet. Active funding options must also have valid prices and commitments. Follow any missing checklist item to its field. Optional extras can improve a page, but they do not replace the required information.
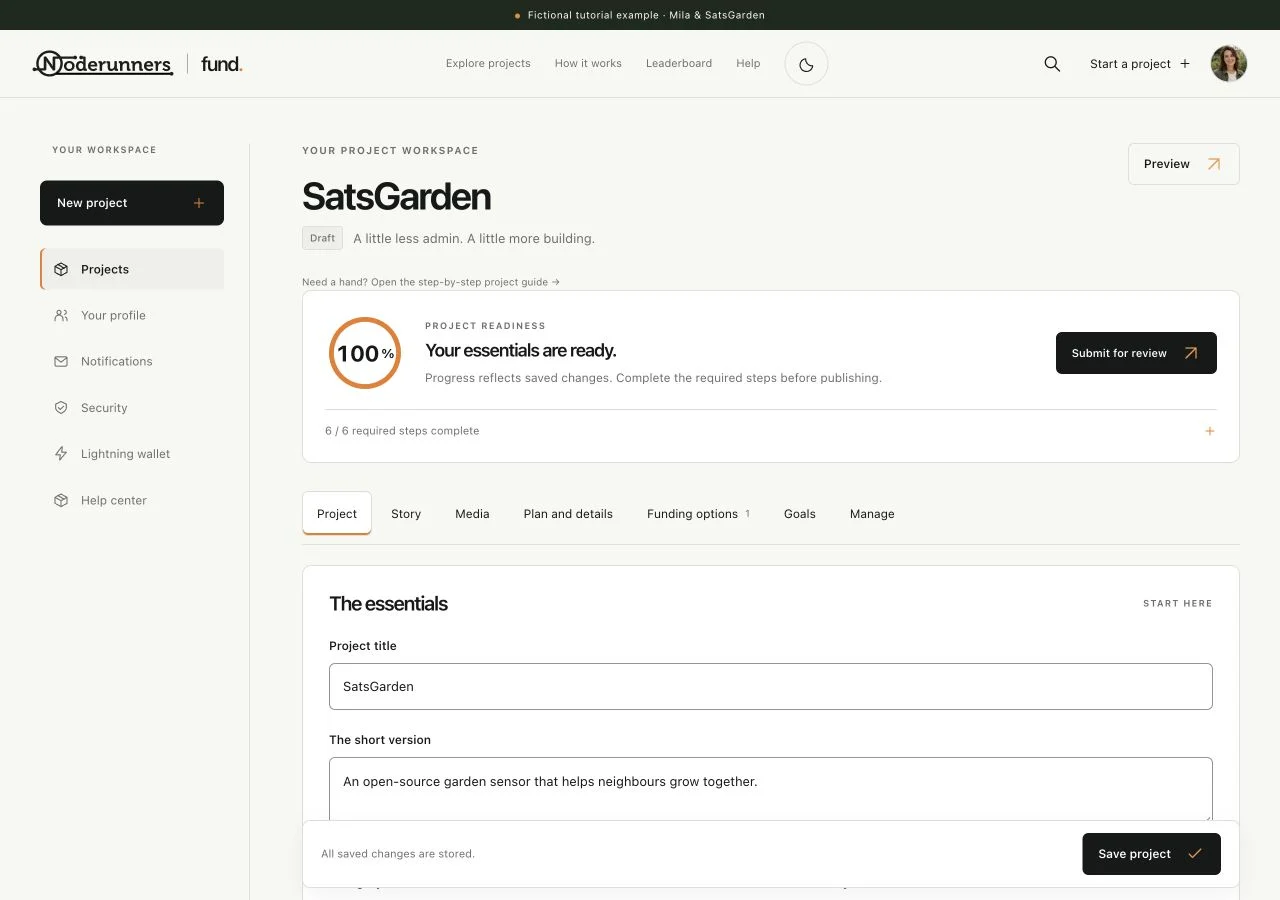
Submit the project for review
Open Manage and choose the review submission action. A submitted project moves to Pending while it is reviewed. Check the workspace and your notifications for the result. If changes are requested, read the review note, update the draft and submit it again; approval is not an automatic result of saving.
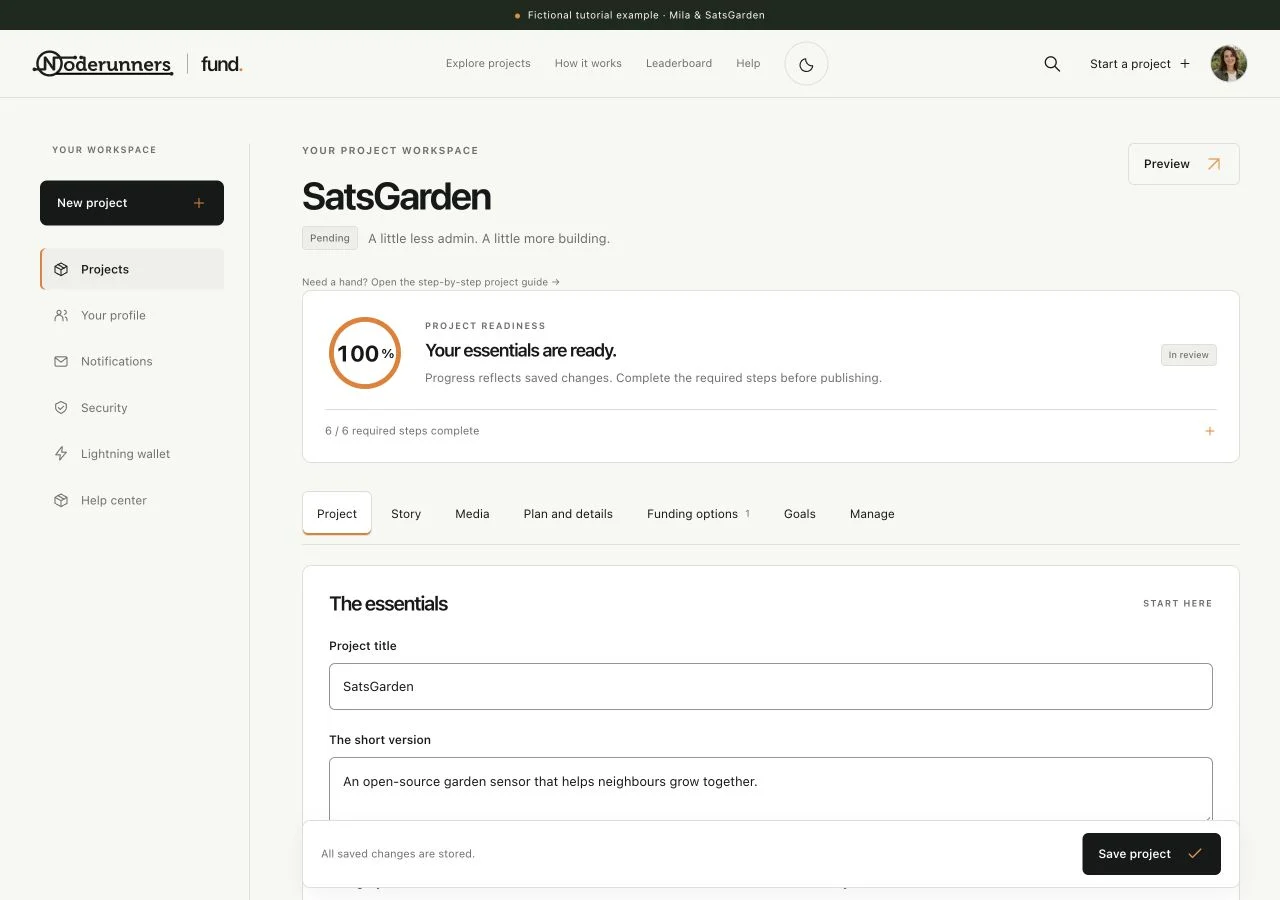
Complete publication after approval
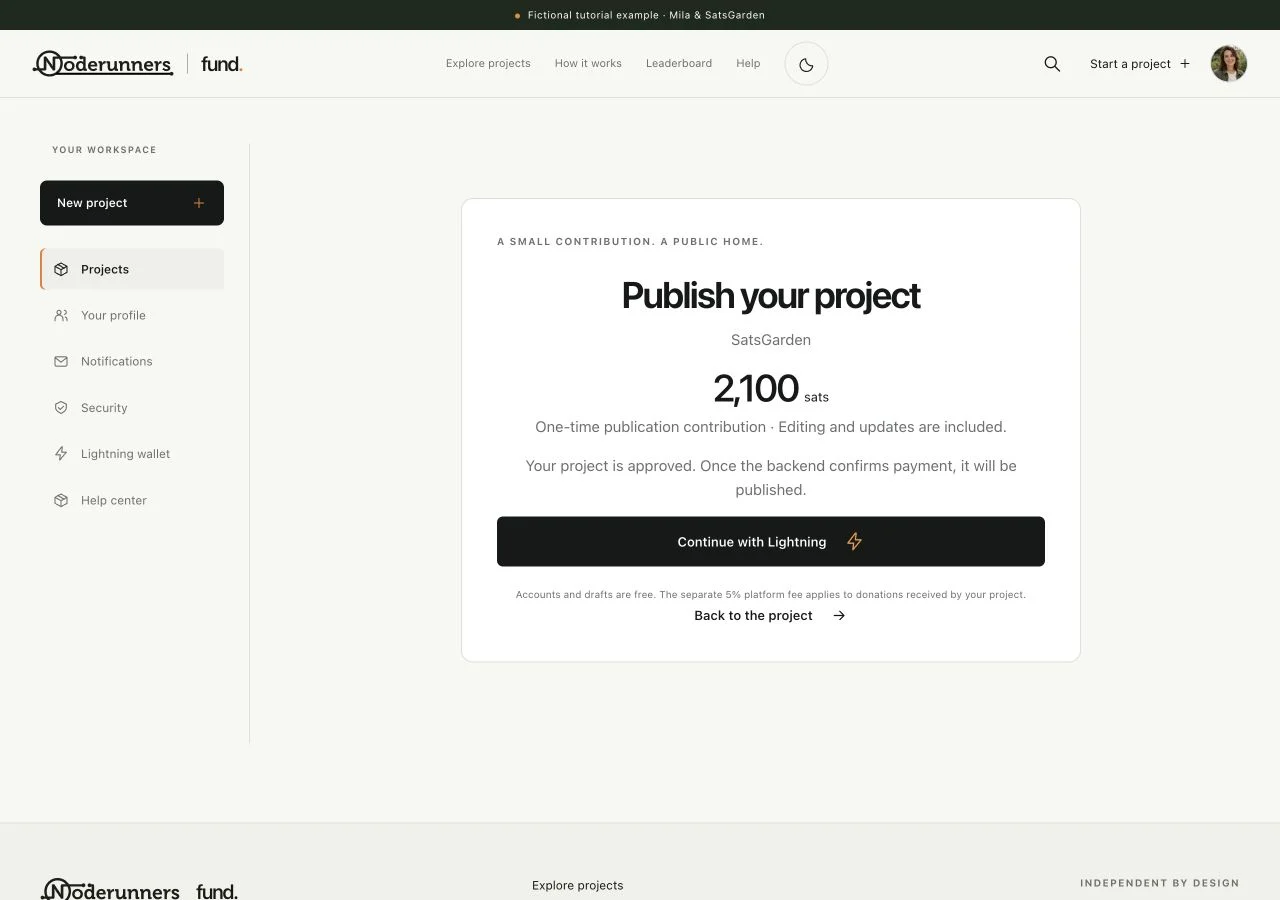
When an eligible new project is approved, its status becomes Awaiting payment and Publish your project offers the one-time publication contribution of 2,100 sats. Follow the Lightning payment screen and wait for confirmation. Project edits and updates are included afterward. A project whose publication contribution is waived follows the status and controls shown in its workspace.
Check the published page and share it
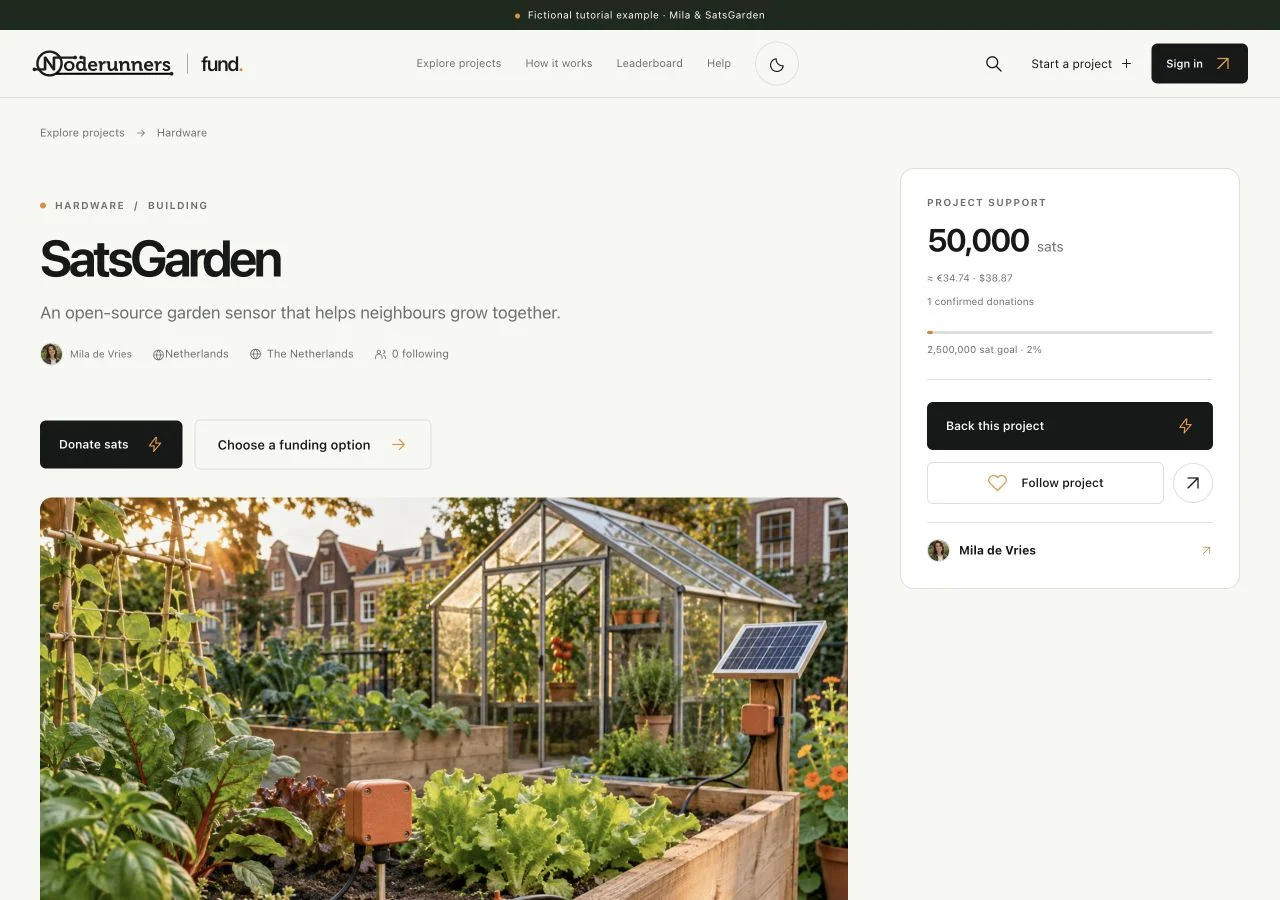
When the workspace shows Published, open the public project page once more. Use the sharing options or copy the public project URL. Invite people to read the story and choose whether to support it. Continue posting real progress so the project remains useful after the launch.
You’re all set when…
Your workspace shows Published and the public project URL opens correctly.
Your story, funding plan, payout destination and any reward commitments are accurate.