
Before you start
A verified account and a wallet or service that can receive through a Lightning address or supported LNURL.
Access to that destination so you can check that it belongs to you.
Your account password and, if you enabled it, your authenticator or a recovery code when a sensitive change requires confirmation.

Follow along with Mila & SatsGarden, our fictional example account and project. Screens show example data.
Open Lightning wallet in your workspace
Sign in, open your workspace and choose Lightning wallet. The screen describes the current default destination and whether it has been validated. You can open these settings before you create a project.
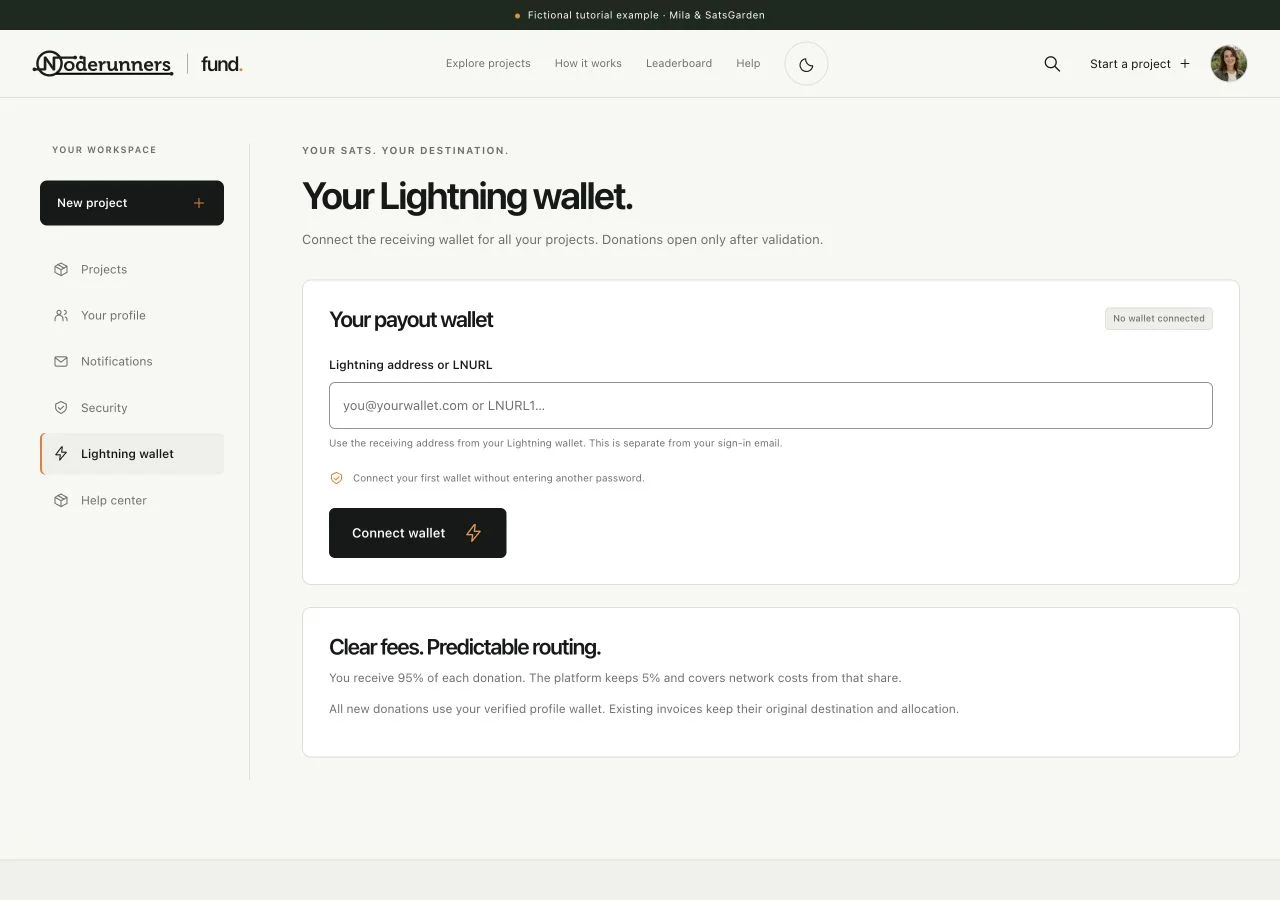
Enter a receiving address, not a secret
Enter your Lightning address, such as the address supplied by your wallet, or the supported LNURL destination. An address can look like an email address, but it is a receiving endpoint: it is not automatically the email you used to register. Do not enter an API key, wallet seed phrase or password in this field.
Save and validate the destination
Follow the save or validation action. The platform checks whether the receiving destination can be used. A first connection and replacing an existing destination can have different confirmation requirements. If validation fails, check the address with your wallet provider and use the message shown; do not substitute someone else's address just to finish the checklist.
Check the validated result
After a successful save, check the address and the validated state again. The project readiness checklist can then recognise the owner wallet. Preview an existing project if you are preparing it for review. The address shown in this guide is fictitious and is not a receiving destination to copy.
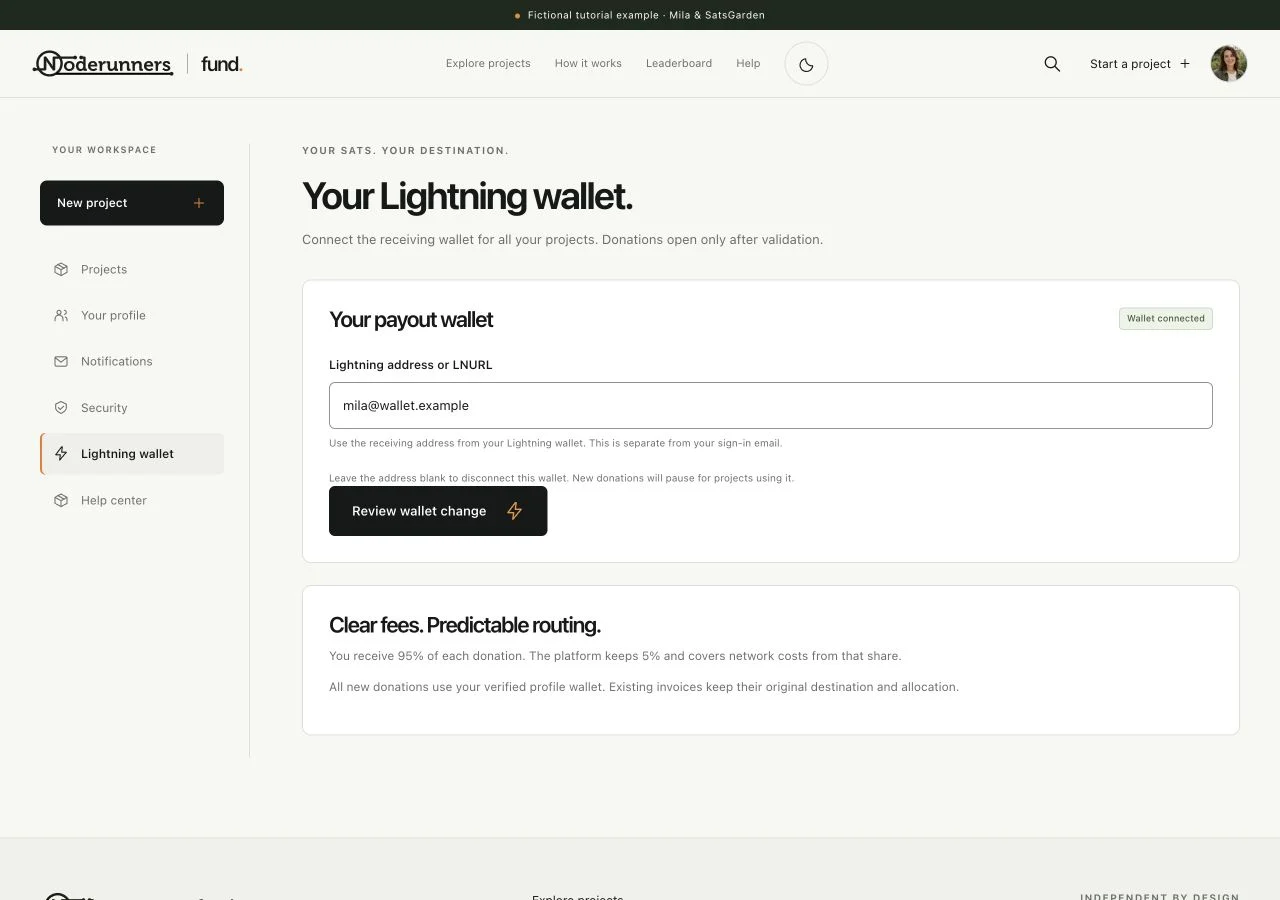
Review a later replacement carefully
When you replace or remove an existing payout destination, confirm with the account credentials requested by the screen. If two-factor authentication is enabled, the relevant security code is also required. Read the destination being saved before confirming, especially if you copied it from another application.
Keep earlier payment records in mind
A new default destination applies to new payment intents. Existing invoices and confirmed donations keep the destination and allocation with which they were created. Do not expect changing the default to move an earlier payment. For an earlier payout that needs investigation, keep the donation reference and contact platform support.
You’re all set when…
The account shows the intended validated receiving destination.
You understand that payout settings and Lightning sign-in are separate.